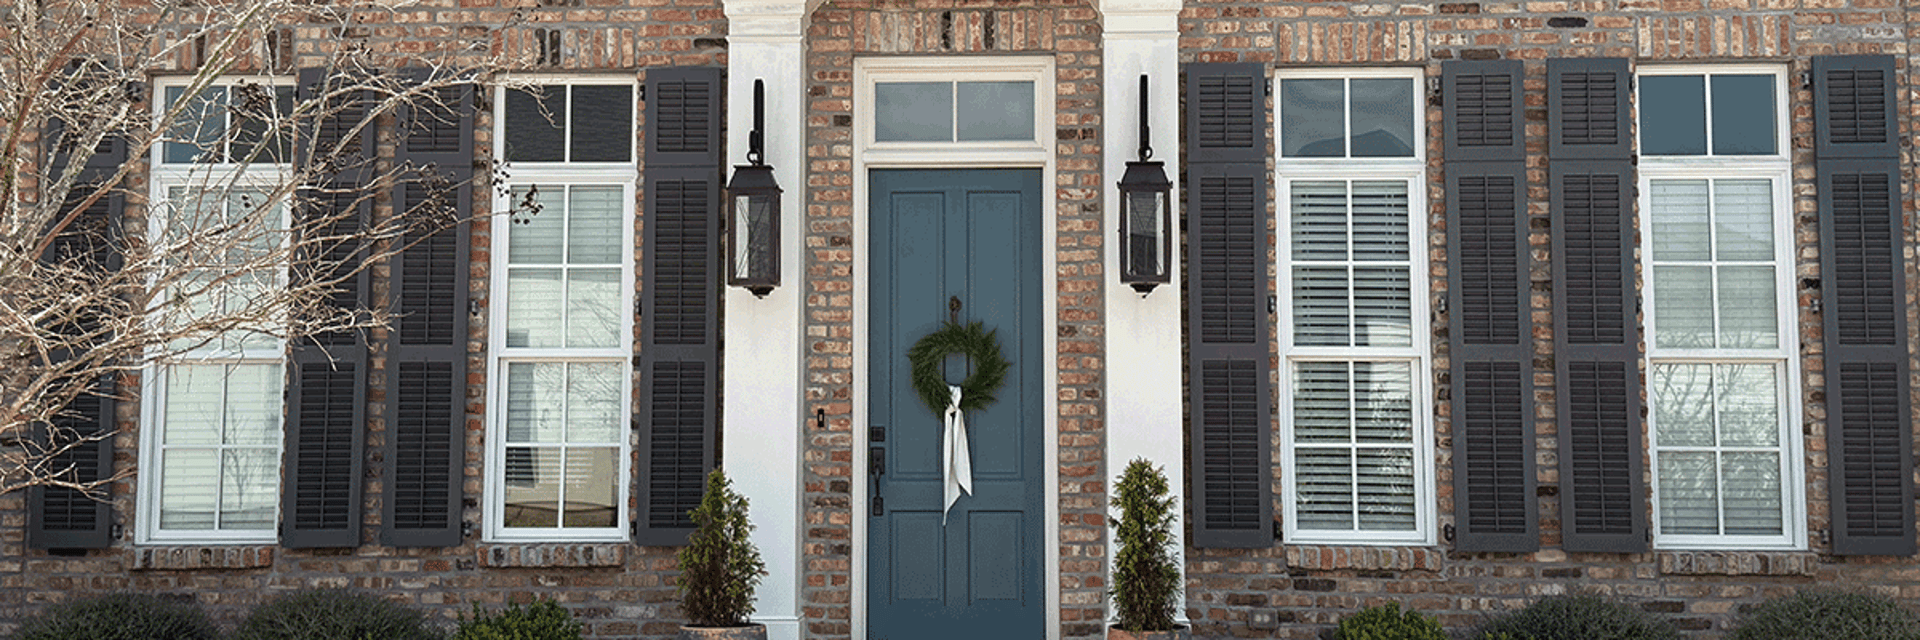
Luxury shutters at competitive prices!
CLEANING & MAINTENENCE
Simple Cleaning Steps
Step 1: Gather your cleaning supplies - Simple Green cleaner, water, a soft sponge or cloth, and a garden hose for rinsing. While we recommend Simple Green, any mild detergent will work.
Step 2: Mix Simple Green with water according to the manufacturer's directions in a bucket or spray bottle.
Step 3: For operational shutters, start by cleaning one side first. Apply the detergent solution to the shutter surface using your sponge, working from top to bottom.
Step 4: Gently scrub the surface, paying attention to louver edges and frame details where dirt tends to accumulate.
Step 5: Rinse thoroughly with clean water from your garden hose to remove all cleaning solution and loosened dirt.
Step 6: If your shutters are operational, close them to access the other side and repeat the cleaning process.
Step 7: For fixed shutters, simply clean the entire visible surface following the same application and rinsing process.
Step 8: Allow the shutters to air dry completely.
Step 9: Step back and enjoy your shutters looking as beautiful as the day they were installed.
Frequency: Clean your shutters as desired - typically once every year or two depending on your local environment and weather conditions.
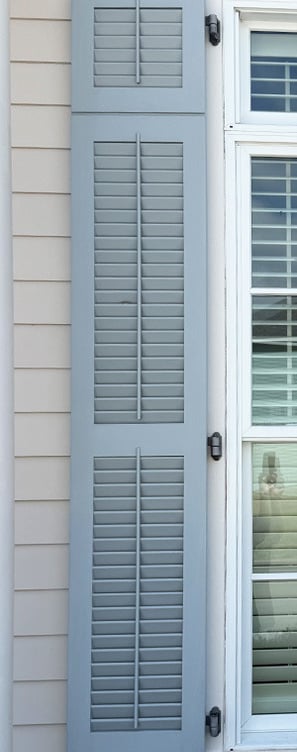
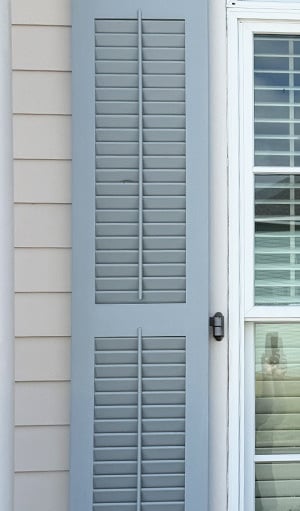
Exterior Shutter Maintenence
Aegis Shutters are designed to last a lifetime with a little maintenance. We recommend re-painting your shutters about every 10 years depending on your environment. In some environments, the paint can last 20 years or more! Detailed instructions on re-painting your shutters are below.
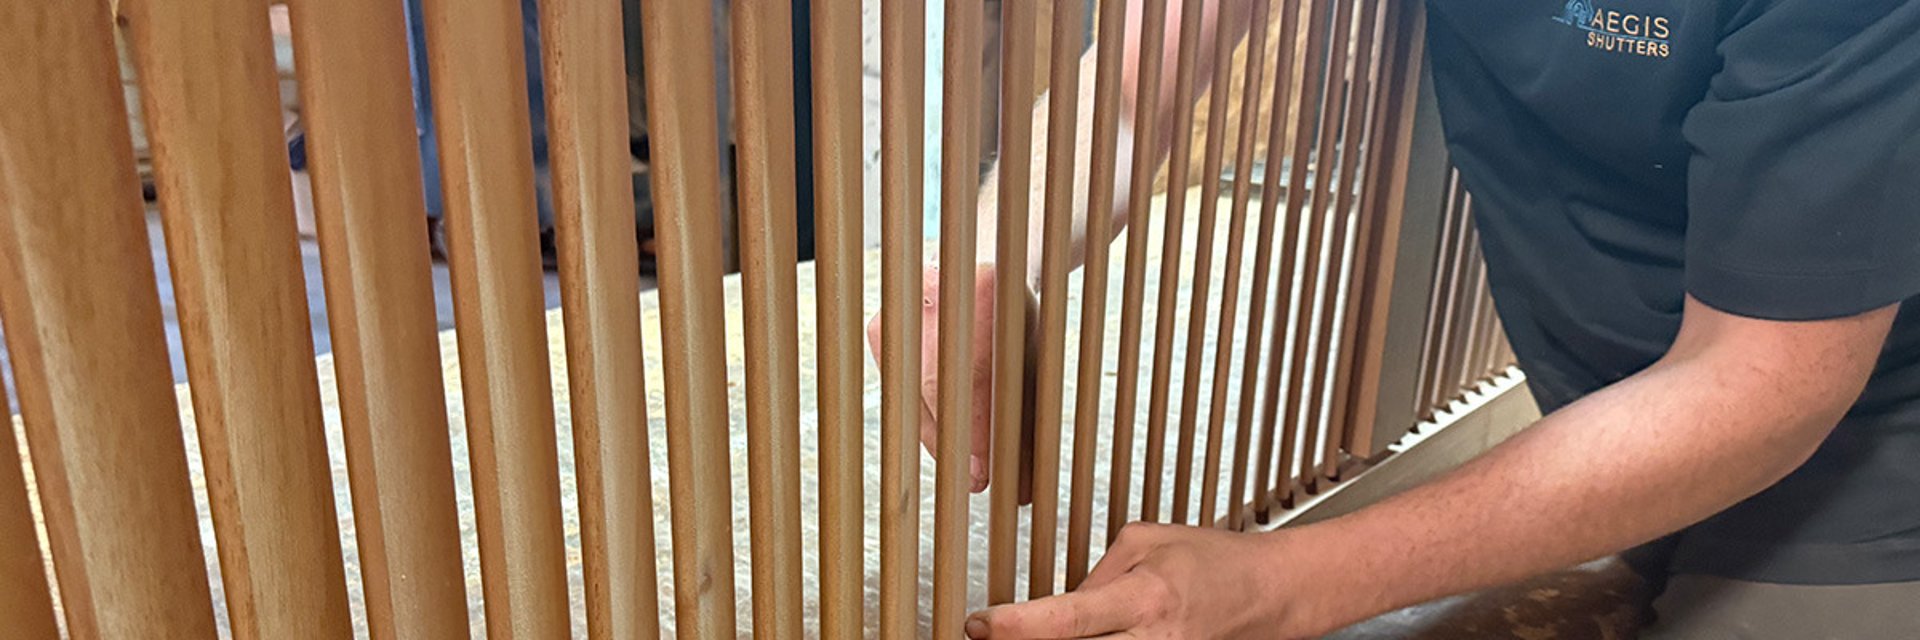
Step 1: Remove the shutters from your home by unscrewing the hinges and any mounting hardware. Work with a helper if shutters are large or heavy.
Step 2: Remove all hardware including hinges, handles, and any decorative elements. Keep screws and hardware organized in labeled containers.
Step 3: Clean the shutters thoroughly with Simple Green and water, then rinse and allow to dry completely.
Step 4: Lightly sand all surfaces with fine-grit sandpaper (220-grit) to remove any loose paint and create a smooth surface for the new coat.
Step 5: Wipe down the shutters with a tack cloth to remove all sanding dust.
Step 6: Set up your work area in a well-ventilated space, preferably outdoors or in a garage with doors open.
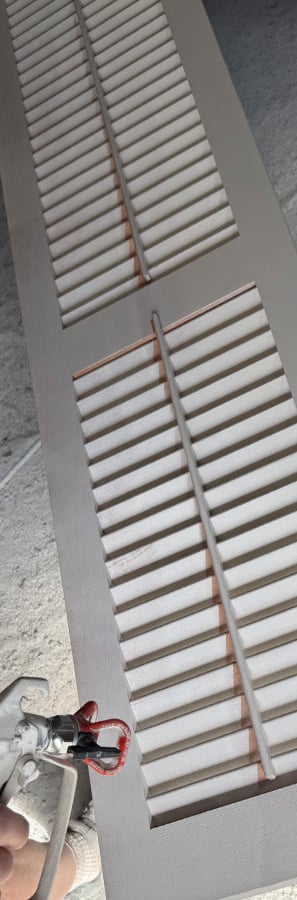
Step 7: Apply primer if you're changing colors dramatically or if bare wood is exposed after sanding.
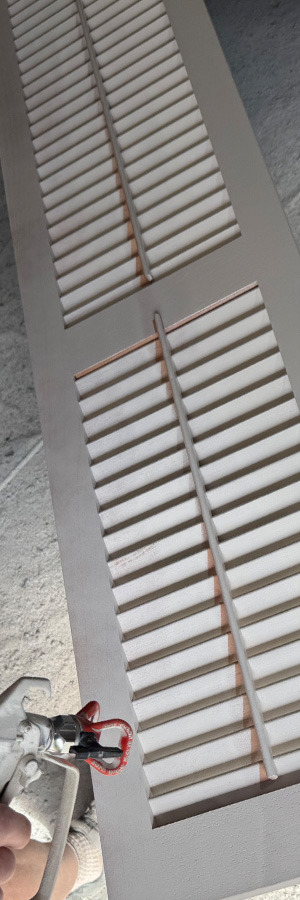
Step 8: Apply Sherwin Williams Emerald Exterior paint (or other high-quality exterior paint) using either spray application for the smoothest finish or a high-quality brush for more control. Work in thin, even coats.
Step 9: Allow the first coat to dry according to manufacturer's instructions, then apply a second coat if needed for complete coverage.
Step 10: Let the paint cure for at least 24-48 hours before handling.
Step 11: Reinstall the hardware and mount the shutters back on your home. Touch up any spots that may have been scuffed during installation.
Step 12: Step back and admire your freshly painted shutters that will provide years of beautiful service.
Aegis Shutters
Enduring Elegance Since 2000
Shutter Styles
© 2025. All rights reserved.
Call or Text at (504) 264-2999
555 Hass Rd
Pearl River, LA 70561
hello@aegisshutters.com